Categories
Halloween Party

How to Haunt Your Home, Part VI: Senses and Assessments

Zed's Hat

By Michael Cieslak

Considering everything we have covered so far, I can hear you ask “Zed, what else can we possibly have to cover?”

Well, voices in my head, allow me to first thank you for the lead-in. While sight may be our primary way of interacting with our environment, it is not the only one. You should not be at all surprised to discover that there are ways to incorporate other senses into your haunt as well, which is what we will be focusing on in our final installment.

We briefly touched on the often underutilized (perhaps with good reason) sense of smell when we talked about fog machines and fog juice additives, but what about the other senses? A trip through any haunted attraction will reveal that touch can be used to good advantage, for example via curtains to be pushed through, dangling things from above to brush against you, and even the cool touch of air and mist. This may not be practical for the smaller home haunts, especially when dealing with young trick-or-treaters, but there have been a number of mist-producing props that have appeared in brick and mortar stores over the past few years.

Sound Effects — A much easier sense to work with, however, and one which can easily control emotions, is sound. There is a very good reason that horror films have soundtracks. Music can be used to set a mood, to build tension, or to enhance a scare (whether a real one or a fake jump scare). This holds true for home haunts as well. The trick is matching the music to the mood of your haunt. Your death metal collection may be what pops into your mind when you think Halloween, but it might clash with a traditional Gothic theme. For this, think of chamber music, pipe organs, and the like.

One thing I would shy away from would be the Halloween themed party music compilations. If you spend any time in a brick and mortar Halloween store you will know what I mean. Your shopping experience will be done to the beat of “Thriller,” “Somebody’s Watching Me,” and the theme from Ghostbusters. These songs are fine to play if you are hosting a party, but they will do nothing to enhance the SQ of your haunt. There is just nothing scary about Bobby Pickett and the Crypt Kickers singing “The Monster Mash.”

When I have music playing at my haunt, it is almost always Midnight Syndicate. Their CDs are available online and from many Halloween retailers. Each of their albums has a different theme, so it is easy to pick the one to match the props you have set up. My personal favorites are Born of the Night, Realm of Shadows, and Gates of Delirium. Unfortunately, these are older albums and are no longer being produced, but it still may be possible to find copies, if you know where to look. Many of the best tracks from these albums are compiled on Out of the Darkness.

Some of the material by Midnight Syndicate contains sound effects woven into the musical tracks. There are also plenty of CDs available which feature spooky sounds, as well as collections on-line. There are even apps to generate different sounds. I am a big fan of appropriate sound effects. Once again, it comes down to matching the sounds to the theme of your haunt. Fifteen minutes of zombies shuffling and moaning for brains may be creepy, but if your haunt is free of the walking dead it just doesn’t fit.

I recommend making custom tracks of sound effects. Put them on an MP3 player hooked up to a set of small speakers (again, placed somewhere safe from the elements, interference, and theft) with enough blank space in between to make sure they are not always going off. Remember, your visitors will think these sounds are great, but you are the one that has to listen to them all night long.

If you are interested in making your own sound effects, I recommend Audacity, or a similar software. Audacity is a free but powerful little program which has a lot of audio manipulation tools built in. For a few years I had a werewolf pen as part of my haunt. The first year I did nothing to augment the wire-form props. The second year I added sound: I recorded my dog’s play growls while we played tug-of-war, then dropped the pitch, increased the reverb, and tweaked a couple other things. That year people swore that the werewolves were moving; in actuality, they were decidedly stationary.

I noted above that you have to remember that you will have to deal with whatever sounds you put in your haunt, so it is important to gauge your own tolerance with them. You are the one who will be around the haunt most often, and you don’t want to be scaring yourself or driving yourself crazy for the duration. You will also have to deal with the lights, the fog, and everything else. This is the primary reason I do not use strobe lights; they give me headaches. Pro-tip: make sure that you are not down-wind of your own fog machines.

Which brings us to the question of how active you plan on being in your home haunt. If you are setting up a large maze that people will be walking through, you may have to recruit some people to help populate it. How do you doll them up?

There are two answers here, which can be combined to various degrees: make-up and masks. Each has its good and bad points. Masks can restrict motion, limit vision, and can be unbearably warm, even on the coldest of nights. Make-up overcomes many of these problems, but lacks permanence and can cause allergic reactions.

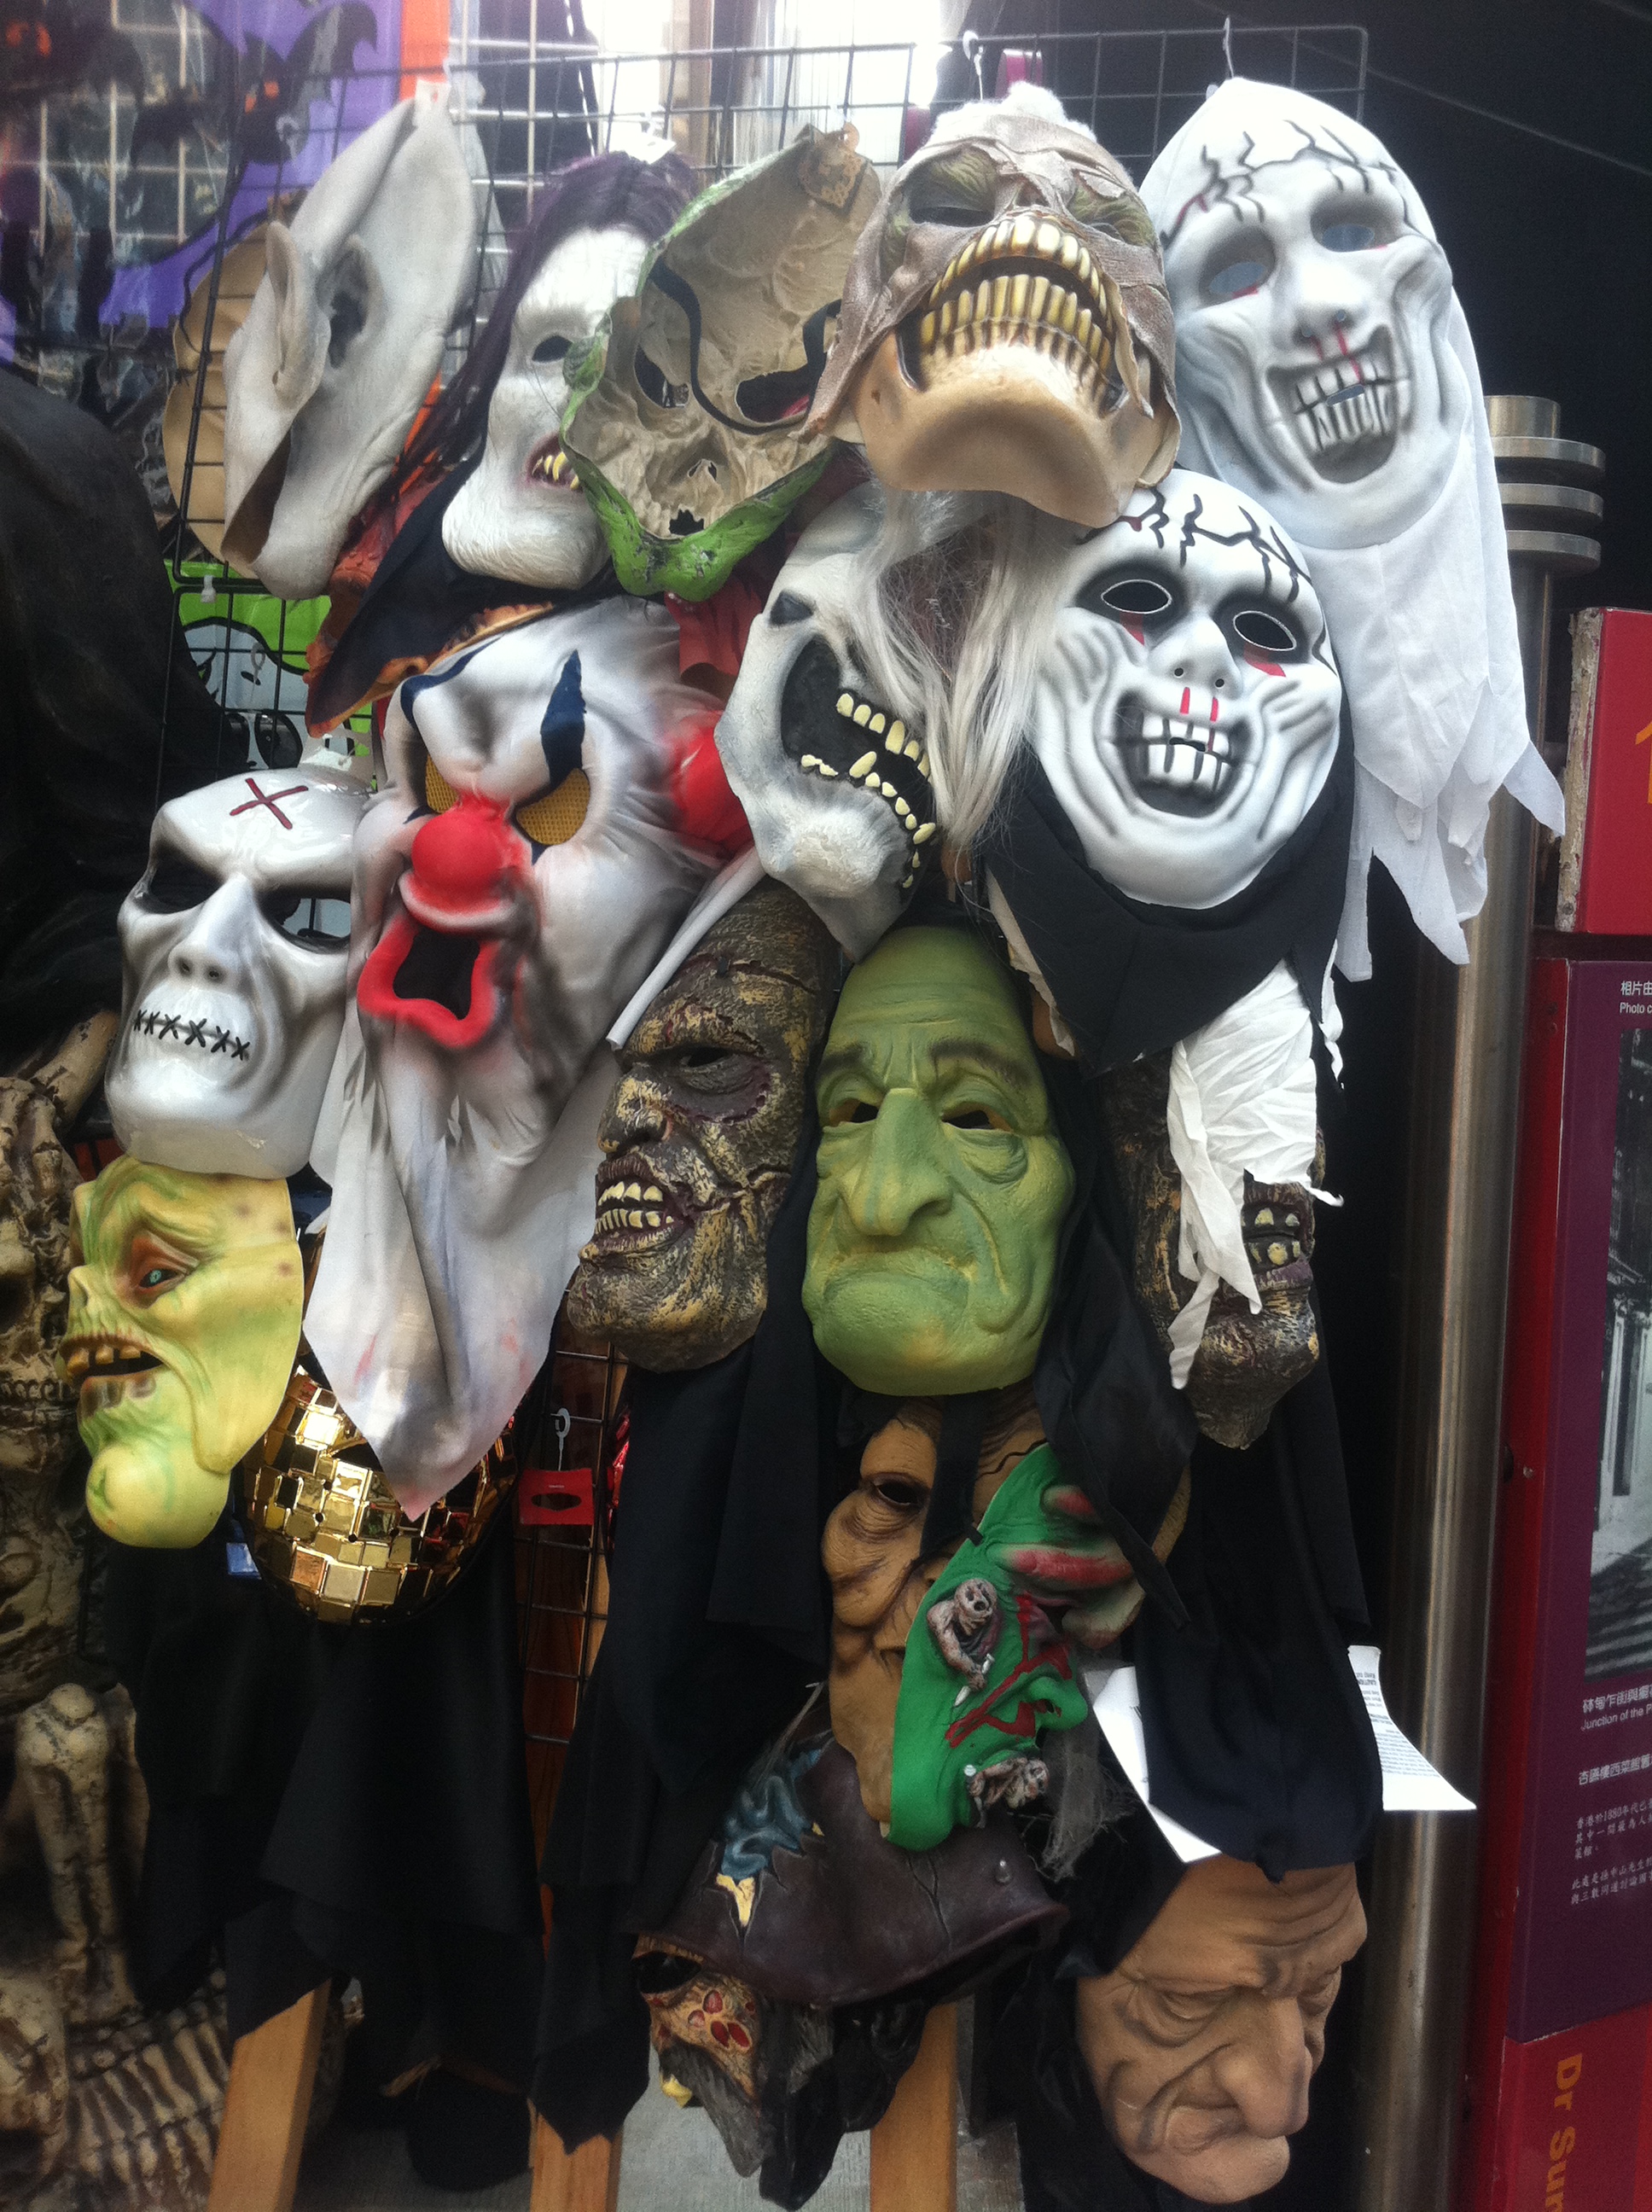
Uncle Zed’s recommendation is to figure out how much running around you are planning on doing and go from there. This is not to say that you can’t run around while wearing a mask, just be sure you are familiar with the surroundings. Generally speaking, there is an inverse relation between the amount of moving you plan on doing and the visual limitations you will want to impose upon yourself. The plus side of some masks is that they do offer a little protection if you should happen to, I don’t know, run into a tree branch.

Trust me on this one. I speak from experience.

There is a third option which falls somewhere in the middle — latex and foam appliances. These can be purchased just about anywhere (or even made at home). They cover all or part of the face and body and are usually applied with spirit glue or liquid latex. Common appliances include demon horns, wound kits, ‘vampire brows,’ and zombie faces. These have the advantage of being less restrictive and less hot than over the head masks. Most are designed to be colored using make-up. Unfortunately, the adhesive does have a tendency to dissolve if you are sweating a lot.

Pro Tip — If you create a large maze or haunt which people are moving through, be mindful of the path that the visitors will take. Never have an actor (or a moving prop for that matter) between them and the way out of a particular area. You do not want to stop people from moving through by creating a barrier. Actors should be placed in such a way that they provide good scares while moving the visitors through the attraction. Remember to “scare forward” or to use P.T. Barnum’s method, move them “to the Egress.”

Some Notes About Masks, Appliances, and Make-up — As noted a numerous times above, make sure that whatever you use to disguise yourself limits your vision as little as possible. Be sure to read the safety notes which arrive with any new make-up or adhesive. Be extra careful around heat sources, especially open flames. Always perform a skin test with any make-up or adhesive to make sure that you do not have an allergy to it. This should be performed every year, as latex allergies can develop over time. Avoid getting any material in your eyes or mouth. If you are wearing a mask that covers your entire head, plan on taking breaks to allow yourself to cool off. Even on the coldest Halloween nights, I have taken off masks and poured out sweat. Stay hydrated (and I’m talking about water or sports drinks, not just booze!).

There are a number of companies which make great Halloween appliances and make-up. Just about anything from Ben Nye, Mehron, Woochie, Graftoban, and Don Post will work great and be easy to find. Sweat guard liquid and setting powder are your friends, stock up. Fake blood comes in everything from a pourable liquid to spray pumps to pre-clotted ooze. You can also make your own using caro syrup and food coloring. There are a multitude of different recipes available on-line, but the best include some blue coloring in addition to the red.

Pro Tip — One place you can skimp is on brushes and sponges. You can purchase very expensive make-up brushes and clean them carefully after each use. I choose to buy cheap ones at the drug store and just pitch them.

YouTube is a great place to find make-up tutorials, as are websites devoted to Halloween. Some of the big retail websites have a section devoted to How To. If you are creating a bite, a bruise, or decayed flesh, find reference images. F/X people used to keep libraries of medical and forensics texts, now these images are available on-line. Another great way to see how professionals work with make-up and appliances is to watch the Behind the Scenes features available as bonus tracks on your favorite scary DVDs.

Unfortunately, due to an extreme phobia regarding things near my eyes, I am unable to wear costume contact lenses. Contacts can complete a character, but make sure you are purchasing them from a reputable dealer. This is not something you want to skimp on. If the retailer is not asking for a prescription from an optometrist, you should probably go elsewhere.

Another great finishing touch is a good set of fangs or teeth. I have multiple sets of fangs from Scarecrow as well as some Pro FX Veneers. The difference between the two is similar to the difference between a cap and a set of dentures. The fangs cover one or two teeth, the veneers are a full set of teeth. Both use molding pellets which take a little time to set up for the first use, but after that they will be molded to your teeth perfectly. VampFangs has a wide assortment at reasonable prices.

I have ignored the “I’m not going to dress up, I’m just going to stand there in a pair of jeans and a tee-shirt and not be scary at all” answer because I personally hate that. If you’ve gone to all of the trouble of setting up props and lights and everything else that we already discussed, don’t pull people back to the real world by being your same old boring self. This is Halloween! It is your chance to be anything you want!

But Zed, the imaginary voice I have assigned to you readers says, what about the little kids? Won’t they be too scared to come up to get candy?

In my experience, no. I used to be worried that I would give little kids nightmares (yeah, my ego is that big), but I have learned that smaller kids don’t scare easily. They are usually interested in the props, touching the skulls, picking up the bones. This kind of fear seems to be something that is learned socially. Older kids will be afraid, but will overcome their fears in order to get that sweet treat as a reward.

If you are still worried about being too scary, you can always enlist the aid of someone who will not be as done up as you are. My wife usually participates in handing out candy early on, when the young kids are out. I’ll be dressed up, but she will just have a prop which she can put aside. For example, this year will feature an alien invasion theme. I’ll look like someone who has been taken over by aliens, but she will just be holding a small alien baby. Previous years she has “banished the monster,” forcing me to the side while apprehensive trick or treaters venture up to the porch.

Worst case scenario, you end up with leftover candy.

Pro Tip — Always buy treats you wouldn’t mind eating if the costumed kids don’t show. Or at least get something you can pawn off on your coworkers without making them sick.

The Final Step — After the kids have all gone and you’ve turned out the lights, take a minute to relax. Bask in the joy of the evening. Think about the great costumes. Mentally relive the best scares. Then pull out a pad of paper and take notes on what worked and what didn’t. These will serve as reminders when you start thinking about the next haunt season. It’s never to early to start planning for next Halloween. This has been Uncle Zed with How To Haunt Your Home, signing off.

Categories
Halloween Party

How To Haunt Your Home, Part V: Professional FX on a Budget

Zed's Hat

By Michael Cieslak

A trip to the local Halloween store can be a little daunting. Generally speaking, I visit the Halloween stores in the area a number of times during the eight to ten weeks that they are in business before the Big Day. The first trip is always to see what new products have hit the shelves. This is purely a scouting mission; I never buy anything. I will, however, make note of any new, big ticket items I might want to purchase during the post-Halloween sales. I will stop by a couple of times during the season to see what is selling well (read: what is everyone else buying — I want to be original). On 1 November, I hit a number of stores and buy the things I had earmarked for purchase.

Now listen closely to your pal Zed; I’m going to let you in on a little secret: a lot of the props and gags that you can buy at these stores were originally created by home haunters.
That web-spinner using glue sticks? The eternal flame pot which is actually a couple pieces of cloth and a light? The jumping spider? The rocking coffin? The laser light vortex? The creepy sound machine? The lightning generator? The creeping fog? Every last one of these things was created by someone who like creepy stuff and had the time to tinker about in the garage. In other words, you can probably make a lot of the items available for purchase for a lot less, if you are willing to invest the time.
I am not putting down ready-made, for-purchase effects items. As I said, I hit these stores a number of times every year. There is something to be said for the convenience of being able to shell out a few bucks and have something ready to rock. However, knowing that you created something so scary with your own two hands is very rewarding.
With that in mind, this week we will explore some of the items commonly available for purchase but can be handcrafted by the average home haunter fairly easily.

The Fog Chiller — I’ll be the first one to say it, every good haunt needs some fog. Nothing helps create the proper at-mos-FEAR like fog creeping over the ground. The problem is, fog machines don’t create fog that creeps, instead creating fog which shoots all over and disperses. This is because the “fog” is created by heating a glycol-based fluid (fog juice) and propelling it outward via a small fan.

A homemade fog machine

A Note About Fog Juice: At its core, all fog juice is either glycol or glycerine and water in different proportions. I’ve actually made my own fog juice and it’s not that hard, if you can get the chemicals. There are numerous brands of fog juice available for purchase. Some have additives which make them heavier, thicker, or change the dispersal rates. You can even purchase fog juice with scent additives (or buy the additives themselves) to make your yard smell like a fresh corpse, a charred corpse, a chainsaw, a forest, a swampy marsh, or even a chocolate chip cookie. Most home haunters use whatever fog juice is available. For a consistently well-made product, the people I know turn to Froggy’s. To achieve the low-lying fog affect, the gas produced from heating the fog juice must be chilled before it is released from the machine. You can purchase a machine which does that for $20 – $30 above the price of a plain fogger. Or you can make one using a styrofoam container or an old cooler, some wire mesh (which you probably have lying around after using it to make your manikins), and ice. The low lying fog is created by heating the fog juice, then passing the resulting gas through a cooled area before blowing it out into the yard. There are an infinite number of designs which accomplish this. Simply search “Fog Chiller DIY” on your friendly neighborhood search engine for a plethora of videos.
Low lying fog is great for cemeteries and around the feet of your prop people, but it is not necessary in all situations. I have a burnt body prop named Ash whom I usually light from below with red and orange spots. By placing a fog machine behind him, I am able to create the illusion that he is on fire.

The Belching Smoke Prop — About two years ago I started seeing a number of smoking zombie props. They were essentially a zombie torso and head containing a tube connected to a fog machine. This idea as a whole puzzled me. I couldn’t figure out why something which was dead would be breathing, much less exhaling smoke. While it was confusing to me as a concept, I was also smug in the knowledge that I had done something similar three years prior.
This one is very easy. I used one of my wire frame bodies and a demon mask. I ran a length of flexible tubing through the body and out the mouth of the mask. I originally placed the tubing directly on the fog machine, but it didn’t quite have the oomph needed to shoot the fog all they way up. I ended up creating a sealed container much like a chiller and placing a small fan inside to propel the fog. I ended up with a fairly nice smoking demon, if I do say so myself.

A Note About Fog — You can’t really control where your fog goes. On a windy night, it may be torn away before it reaches the first tombstone. You can try to combat this by changing the angle of the fog machine or lengthening the duration of the fog bursts. However, be mindful of where your fog is ending up. I have received a stern talking-to from the local gendarme due to calls the fire department received. Apparently fog from my yard made it look like a neighboring business was on fire! Not my intention. So be conscious of your spook.
The Wonderful Thing About Triggers — So, how do you control your bouncing, spinning, fog emitting props? Once upon a time, this was a difficult question to answer. Fortunately, home haunters now have a lot of choices at their disposal. As with many of the things we have discussed, pressure pad triggers can be purchased in Halloween stores and on-line. These work like the old entrance mats in front of retail outlets. You place the pad where people can step on it. When it registers enough weight, the mechanism that it is connected to is triggered. These work well enough if you can direct your foot traffic so it will be stepped on.
An easier solution is to use a motion sensor. While these are also available from various Halloween retailers, inexpensive versions can also be found at just about any hardware store, electronics shop, and garden supply store. With a couple simple adjustments they can be hooked up to just about any prop you are using.
One thing that you may want to purchase from a Halloween store is a remote/timer for your fog machine(s). While you can also rig something up, there are controllers which are designed for the fog machine which control not only when the fog is released, but for how long. with only the flick of a switch.

The simplest projector: the jack o’ lantern

Projected Images — There are a lot of ways to project images onto various areas in your haunt. One of the more popular methods is to place an old television or computer monitor on its back and affix a piece of reflective plexiglass at a forty-five degree angle so whatever is on the screen is showing on the plexi, creating the illusion of something floating in space. You can then alter the distance between the image source and the plexiglass to control the size of the finished image. This is a great way to put moving images on windows or even on the side of a structure.
Of course, projectors have become so affordable that they are easy to pick up. There are even some which can be attached to mobile phones. The only real concern is to make sure that they are placed somewhere that they will be safe from the elements and from theft.
A Note About Projected Images — When projecting still images, there are a number of things to watch out for. One is content. It is a good idea to avoid the use of images which are too gory or explicit. Keep in mind that they will be visible to all passersby, not just those who are interested in your haunt. There is an additional concern with projections and light shows. Just like your fog, be mindful of the affected area. While it is cool to have your haunt visible from outer space, you do not want to distract traffic.

Lasers and Safety — Some light machines use small lasers to achieve the desired results. One example is a device used in conjunction with a fog machine to create a vortex in mid-air. It is important to remember that laser light can cause permanent ocular damage. Whenever you work with lasers you must make sure that no one can stand in front of them, even accidentally.
As I hope to have shown, you do not have to rely on expensive gadgets to create interesting, creepy visuals. One of the best scares that I have had at my house was achieved by placing a cheap window cling on an upper story window and placing a red light behind it. Of all of the things I had up that year, that window cling was the one which got the adults to jump off of the curb. Join us next week for our last installment of How to Haunt Your Home before the Big Event!

Categories
Creepy Crafts Halloween

How To Haunt Your Home Part II: Setting The Scene

Zed's Hat

By Michael Cieslak

Welcome to part two of our discussion of how to haunt your home. As noted in our first installment, we’re investigating what is required to turn your residence into something fantastically frightening for Halloween.

In terms of full disclosure, I should let you know that my own level of haunting is probably somewhere around Beginner+ to Intermediate-. I have multiple fog machines, an extensive light array, and pneumatics. I both purchase and make my own props. I do have some experience with mask creation and foam latex prop making, but not much. My soldering skills are non-existent.

Oh, you can call me Zed.

Last time around, we discussed the importance of having a centralized theme around which your haunt is based. To explore this further, why don’t we take a quick look at two of the biggest haunts in the area, Realm of Darkness and Erebus. Both are located in Pontiac, but each approaches the idea of theme in a different way.

Realm of Darkness features the classic Quest To Defeat The Wizard. Visitors are lead through a medieval castle filled with various monsters and ghouls until they reach the Wizard at the end. All of the characters and props fits this theme.

Erebus, on the other hand, tells the story of a mad scientist who creates a rift in time and space which allows all manner of horrible things to fall into our world. Using this pretense, the owners can explain areas of science fiction technology next to dinosaurs, swamps inside of a building, and zombies and madmen inhabiting the same space.

So how do you choose your theme? The easiest way to decide is think about what scares you. If there is an idea which creeps you out, odds are it will do the same to someone else. Also, take a look at what you already have purchased. If you have already started building up a supply of props, get them out and see what they have in common. You might have your answer right there.

There are a number of staples for the haunted house which you might want to invest in. These include:

Spiders and webbing — Nothing says “old and creepy” like cobwebs, and spiders rank among snakes and heights as the things most people are afraid of. Large spider webs are also readily available at Halloween stores and are an inexpensive way to start making your house look frightening. The downside to this is that everyone else on the block will have them as well. If you do go the spider route, you might want to invest in a webspinner, a simple device that is essentially a hot glue gun with a fan attachment. This blows the hot glue wherever you point it (wind permitting) and creates gorgeous spiderwebs.

Tombstones — The cemetery is a staple backdrop, whether you are featuring zombies, ghosts, skeletons, or just something eerie. They are also inexpensive, fairly easy to make, and an efficient way to make your haunt look bigger than it is. Placing large tombstones in the front of the yard and progressively smaller ones as the boneyard continues rearward will create a forced perspective effect, and the illusion that the space is much larger.

Skulls, skeletons, and bones — We’ve all got them under our skin, but for some reason people are freaked out by bones. You can use full sized skeletons as scares, skulls as background decorations, or bones in the hands of your zombies and werewolves for an added ick factor. I recommend the 4th Rate Bucky Skeleton, available from a variety of retailers, including The Skeleton Store and the Skeleton Factory. Bucky is an anatomically correct skeleton, quite sturdy (I’ve had mine for ten years or more), and it won’t break your bank.

Fog-Machines — We will go into more detail on fog machines in a later post, but they are a great way to add atmosphere.

A number of resources will help you get ideas for your haunt and in some cases learn how to make your own props.

If you are in the Metro Detroit Area, you should check out the Motor City Haunt Club. This group of haunters and horror fans meets once a month on the campus of the University of Detroit-Mercy. They discuss prop creation, lighting, sounds, fog machines, and just about everything else related to home haunting. Meetings usually feature a how-to demonstration of a Make and Take session where attendees create a prop during the meeting.

On-line Resources:
The internet is an ever-changing landscape. A number of websites devoted to home haunting are only occasionally updated, but they are plenty of archives of useful information which has already been posted. These include the Home Haunters Association, Home Haunt News, and Halloween Show.

Conventions:
Several national conventions devoted to professional Haunted Attractions can be fantastic opportunities to learn. Although some of the material may be beyond the scope of the average home haunter, there are usually also panel discussions and demonstrations which can be applied on a smaller scale. Many include a sales floor that showcases all sorts of different ghoulish goodies as well. Some of the biggest and best include HauntCon, TransWorld, the Mid-West Haunters Convention, and local favorite Great Lakes Fright Fest.

Other Materials:
I recommend the following material for anyone interested in bigger, scarier Halloween material:

Boneyard Productions DVD set: Includes Horrific Haunted House Tips, Scenery Made Easy, Scares Made Frightfully Easy, and The Official guide to Haunted House Actor Training and Operations Management.

The DC Prop Builder’s Handbook: Devious Concoctions Custom Un-Earthed Creations Volumes 1 and 2. These books are excellent resources which cover everything from corpse and coffin creation to building pneumatic lifters.

Grande Illusions: Books I & II by Savini, Tom (2013) Paperback. The master of horror make-up illustrates some of the best of his cinematic creations including behind the scenes material on how they were constructed.

Stay tuned for more tips, tricks and guidance for building your best Halloween haunt yet.


(Original posting here)

Categories
Creepy Crafts Halloween

How to Haunt Your Home, Part One: Planning

Zed's Hat

By Michael Cieslak

My name is Zed, and I’m a home haunter. I’ve been approached by the Head Nightmarian to discuss the ins and outs of turning your home and/or yard into something terrifying this October.

For those unfamiliar with the term, the home haunter dwells in the middle ground between person who puts up some decorations at Halloween and the Haunted Attractions which spring up around the end of September. The typical home haunt has detailed props, some of which may use light, sound, and pneumatics to achieve their scares. Some home haunts are large enough that the rival the professionals, drawing hundreds or even thousands of people a night.

If you are thinking “this guy is talking about Halloween already?” then this post might not be for you. Everyone else, read on.