By Michael Cieslak
A trip to the local Halloween store can be a little daunting. Generally speaking, I visit the Halloween stores in the area a number of times during the eight to ten weeks that they are in business before the Big Day. The first trip is always to see what new products have hit the shelves. This is purely a scouting mission; I never buy anything. I will, however, make note of any new, big ticket items I might want to purchase during the post-Halloween sales. I will stop by a couple of times during the season to see what is selling well (read: what is everyone else buying — I want to be original). On 1 November, I hit a number of stores and buy the things I had earmarked for purchase.
Now listen closely to your pal Zed; I’m going to let you in on a little secret: a lot of the props and gags that you can buy at these stores were originally created by home haunters.
That web-spinner using glue sticks? The eternal flame pot which is actually a couple pieces of cloth and a light? The jumping spider? The rocking coffin? The laser light vortex? The creepy sound machine? The lightning generator? The creeping fog? Every last one of these things was created by someone who like creepy stuff and had the time to tinker about in the garage. In other words, you can probably make a lot of the items available for purchase for a lot less, if you are willing to invest the time.
I am not putting down ready-made, for-purchase effects items. As I said, I hit these stores a number of times every year. There is something to be said for the convenience of being able to shell out a few bucks and have something ready to rock. However, knowing that you created something so scary with your own two hands is very rewarding.
With that in mind, this week we will explore some of the items commonly available for purchase but can be handcrafted by the average home haunter fairly easily.
The Fog Chiller — I’ll be the first one to say it, every good haunt needs some fog. Nothing helps create the proper at-mos-FEAR like fog creeping over the ground. The problem is, fog machines don’t create fog that creeps, instead creating fog which shoots all over and disperses. This is because the “fog” is created by heating a glycol-based fluid (fog juice) and propelling it outward via a small fan.

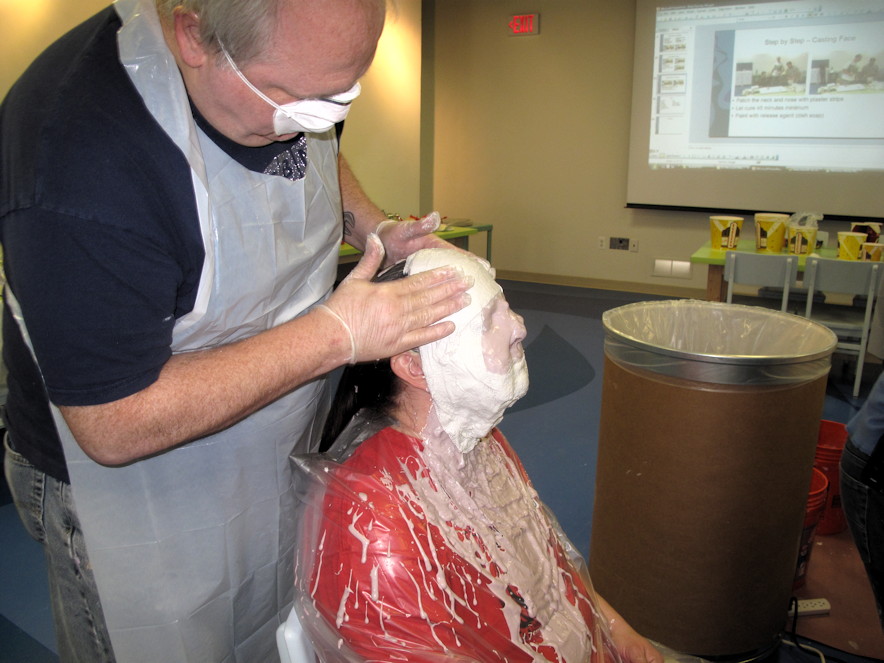
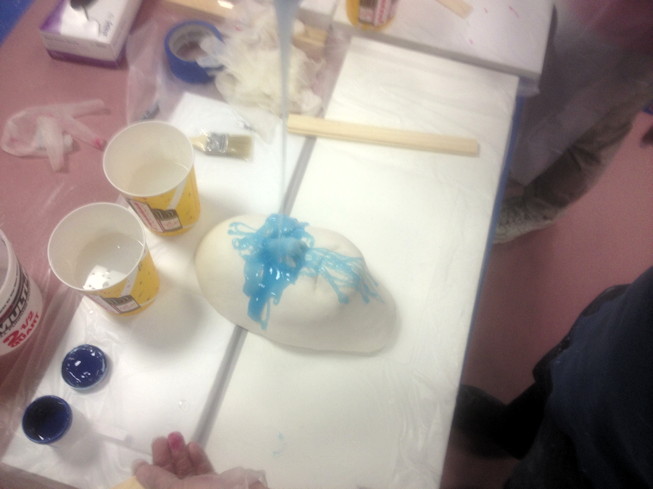
A Note About Fog Juice: At its core, all fog juice is either glycol or glycerine and water in different proportions. I’ve actually made my own fog juice and it’s not that hard, if you can get the chemicals. There are numerous brands of fog juice available for purchase. Some have additives which make them heavier, thicker, or change the dispersal rates. You can even purchase fog juice with scent additives (or buy the additives themselves) to make your yard smell like a fresh corpse, a charred corpse, a chainsaw, a forest, a swampy marsh, or even a chocolate chip cookie. Most home haunters use whatever fog juice is available. For a consistently well-made product, the people I know turn to Froggy’s. To achieve the low-lying fog affect, the gas produced from heating the fog juice must be chilled before it is released from the machine. You can purchase a machine which does that for $20 – $30 above the price of a plain fogger. Or you can make one using a styrofoam container or an old cooler, some wire mesh (which you probably have lying around after using it to make your manikins), and ice. The low lying fog is created by heating the fog juice, then passing the resulting gas through a cooled area before blowing it out into the yard. There are an infinite number of designs which accomplish this. Simply search “Fog Chiller DIY” on your friendly neighborhood search engine for a plethora of videos.
Low lying fog is great for cemeteries and around the feet of your prop people, but it is not necessary in all situations. I have a burnt body prop named Ash whom I usually light from below with red and orange spots. By placing a fog machine behind him, I am able to create the illusion that he is on fire.
The Belching Smoke Prop — About two years ago I started seeing a number of smoking zombie props. They were essentially a zombie torso and head containing a tube connected to a fog machine. This idea as a whole puzzled me. I couldn’t figure out why something which was dead would be breathing, much less exhaling smoke. While it was confusing to me as a concept, I was also smug in the knowledge that I had done something similar three years prior.
This one is very easy. I used one of my wire frame bodies and a demon mask. I ran a length of flexible tubing through the body and out the mouth of the mask. I originally placed the tubing directly on the fog machine, but it didn’t quite have the oomph needed to shoot the fog all they way up. I ended up creating a sealed container much like a chiller and placing a small fan inside to propel the fog. I ended up with a fairly nice smoking demon, if I do say so myself.
A Note About Fog — You can’t really control where your fog goes. On a windy night, it may be torn away before it reaches the first tombstone. You can try to combat this by changing the angle of the fog machine or lengthening the duration of the fog bursts. However, be mindful of where your fog is ending up. I have received a stern talking-to from the local gendarme due to calls the fire department received. Apparently fog from my yard made it look like a neighboring business was on fire! Not my intention. So be conscious of your spook.
The Wonderful Thing About Triggers — So, how do you control your bouncing, spinning, fog emitting props? Once upon a time, this was a difficult question to answer. Fortunately, home haunters now have a lot of choices at their disposal. As with many of the things we have discussed, pressure pad triggers can be purchased in Halloween stores and on-line. These work like the old entrance mats in front of retail outlets. You place the pad where people can step on it. When it registers enough weight, the mechanism that it is connected to is triggered. These work well enough if you can direct your foot traffic so it will be stepped on.
An easier solution is to use a motion sensor. While these are also available from various Halloween retailers, inexpensive versions can also be found at just about any hardware store, electronics shop, and garden supply store. With a couple simple adjustments they can be hooked up to just about any prop you are using.
One thing that you may want to purchase from a Halloween store is a remote/timer for your fog machine(s). While you can also rig something up, there are controllers which are designed for the fog machine which control not only when the fog is released, but for how long. with only the flick of a switch.

Projected Images — There are a lot of ways to project images onto various areas in your haunt. One of the more popular methods is to place an old television or computer monitor on its back and affix a piece of reflective plexiglass at a forty-five degree angle so whatever is on the screen is showing on the plexi, creating the illusion of something floating in space. You can then alter the distance between the image source and the plexiglass to control the size of the finished image. This is a great way to put moving images on windows or even on the side of a structure.
Of course, projectors have become so affordable that they are easy to pick up. There are even some which can be attached to mobile phones. The only real concern is to make sure that they are placed somewhere that they will be safe from the elements and from theft.
A Note About Projected Images — When projecting still images, there are a number of things to watch out for. One is content. It is a good idea to avoid the use of images which are too gory or explicit. Keep in mind that they will be visible to all passersby, not just those who are interested in your haunt. There is an additional concern with projections and light shows. Just like your fog, be mindful of the affected area. While it is cool to have your haunt visible from outer space, you do not want to distract traffic.
Lasers and Safety — Some light machines use small lasers to achieve the desired results. One example is a device used in conjunction with a fog machine to create a vortex in mid-air. It is important to remember that laser light can cause permanent ocular damage. Whenever you work with lasers you must make sure that no one can stand in front of them, even accidentally.
As I hope to have shown, you do not have to rely on expensive gadgets to create interesting, creepy visuals. One of the best scares that I have had at my house was achieved by placing a cheap window cling on an upper story window and placing a red light behind it. Of all of the things I had up that year, that window cling was the one which got the adults to jump off of the curb. Join us next week for our last installment of How to Haunt Your Home before the Big Event!